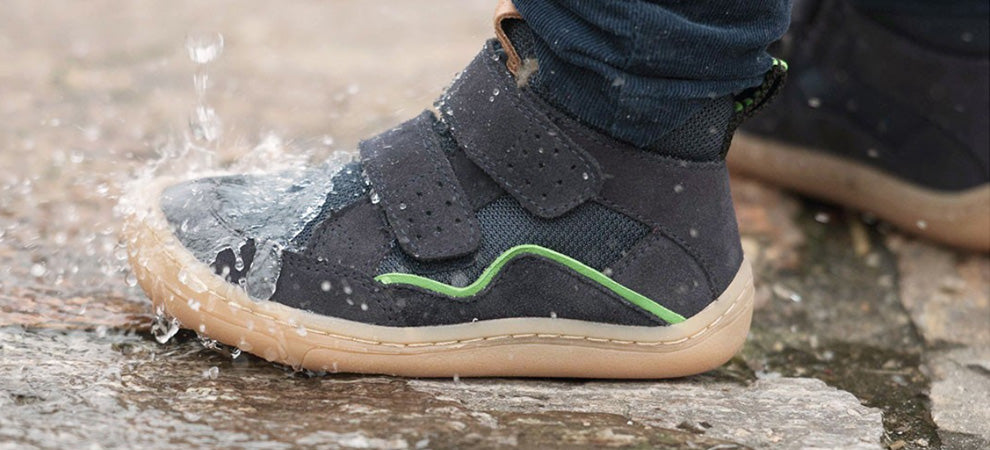
The first crucial step is acting fast before mold and mildew take hold. At the first sight of saturation, remove the laces and insoles and place the shoes in a warm, dry area with good airflow - never on a direct heat source. Stuff the toes loosely with balled-up acid-free paper or cloth rags to help retain the shape as they dry. Let it rest for 24-48 hours, changing out the stuffing materials as they become damp.
For linings that've taken on a funky smell, try sprinkling some baking soda inside and letting it sit overnight before brushing it out. You can also make a sanitizing mist by mixing one part white vinegar with two parts water in a spray bottle. Give the insides a liberal misting, wipe away excess, and let air dry.
Interior cracking often happens with prolonged soakage, so be on the lookout around the toe box, vamp, and quarters. Using an artists' paintbrush, carefully work a flexible fabric adhesive into any cracks or separations while manipulating the material back into position. Place a piece of wax paper or plastic wrap over the area and weigh it down overnight to set.
For the final rehabilitating polish, you'll want to use a high-quality wax or leather conditioner designed for deep nourishment. Work a generous amount into the leather all over the shoe using a soft brush or cloth. Let it fully absorb for at least an hour to really condition the material. Then, buff out the excess using a clean, dry cloth to restore a rich, satin-like finish. This conditioning polish helps rehydrate and rejuvenate the leather after its soaking ordeal.
With a little effort, many pairs of shoes can be saved from what seemed like permanent water damage.

